Create Database in MongoDB
In this tutorial, we will see how to create and use a database in MongoDB.
MongoDB Create Database
Start the MongoDB service by typing this command:
net start MongoDB
You should see a message like this:
The MongoDB service is starting..
The MongoDB service was started successfully.
Navigate to the bin directory of MongoDB as shown in the screenshot below:
Now we should be working in the MongoDB shell. To run the MongoDB shell, type the following command:
mongoOnce you are in the MongoDB shell, create the database in MongoDB by typing this command:
use database_name
For example I am creating a database “beginnersbook” so the command should be:
use mycareerrepublic
Note: If the database name you mentioned is already present then this command will connect you to the database. However if the database doesn’t exist then this will create the database with the given name and connect you to it.
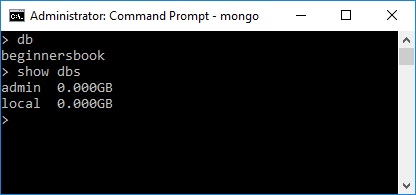
At any point if you want to check the currently connected database just type the command db. This command will show the database name to which you are currently connected. This is really helpful command when you are working with several databases so that before creating a collection or inserting a document in database, you may want to ensure that you are in the right database.
> db
mycareerrepublic
To list down all the databases, use the command show dbs. This command lists down all the databases and their size on the disk.
> show dbs
admin  0.000GB
local  0.000GB

As you can see that the database “beginnersbook” that we have created is not present in the list of all the databases. This is because a database is not created until you save a document in it
Now we are creating a collection user and inserting a document in it.
We will learn how to create collection and document in the next tutorials.
> db.user.insert({name: "Chaitanya", age: 30})
WriteResult({ "nInserted" : 1 })
> show dbs
admin          0.000GB
beginnersbook  0.000GB
local          0.000GB
You can now see that the database “mycareerrepublic” is created.

0 comments:
Post a Comment